 Save
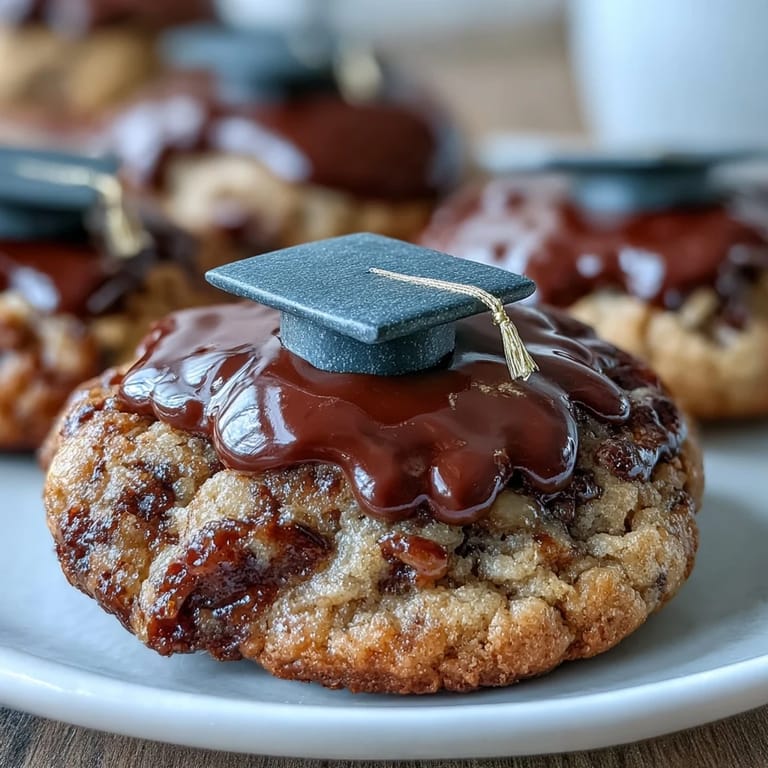
Save My cousin called me three weeks before her graduation asking if I could make cookies for her party, and honestly, I panicked for exactly two seconds before remembering these graduation cap cookies exist. There's something magical about turning a simple sugar cookie into a tiny edible celebration, complete with a little tassel. The first time I piped that yellow detail onto the black icing, it actually looked like a real cap, and I got genuinely excited, which probably says more about me than it should.
I'll never forget watching my friend's mom see the finished cookies lined up on the dessert table and immediately take three photos for her book club group chat. She kept saying they were too pretty to eat, which lasted about ninety seconds before people dove in anyway. That's when I realized these cookies aren't just dessert—they're the edible equivalent of a standing ovation.
Ingredients
- All-purpose flour (2 1/2 cups): The foundation of your cookie, and sifting it really does make a difference in how the dough comes together, even though it feels like an extra step.
- Baking powder (1/2 teaspoon): Just enough to give the cookies a subtle lift without making them cake-like.
- Salt (1/4 teaspoon): Brings out the buttery flavor in ways you won't consciously notice but absolutely will miss if it's left out.
- Unsalted butter (3/4 cup), softened: Room temperature is non-negotiable here—cold butter won't cream properly and your dough will suffer for it.
- Granulated sugar (1 cup): The sweetness base, and beating it with the butter until fluffy is what gives these cookies their tender crumb.
- Large egg (1): Acts as a binder and adds richness without overwhelming the delicate vanilla flavor.
- Vanilla extract (2 teaspoons): Use real vanilla if you can—the flavor difference in such a simple cookie is genuinely noticeable.
- Powdered sugar (3 cups), sifted: The base for royal icing, and sifting prevents lumps that will sabotage your smooth finish.
- Egg whites (2 large) or meringue powder (4 tablespoons) with water (6 tablespoons): Meringue powder is the safer choice if you're nervous about raw eggs, and honestly, it works just as well.
- Vanilla extract (1/2 teaspoon): A small amount for the icing, just enough to complement without competing with the cookie flavor.
- Black gel food coloring: Gel colors don't add moisture like liquid colors do, which keeps your icing consistency perfect.
- Yellow gel food coloring: For the tassel detail, and a little goes a long way with gel coloring.
- Mini yellow M&Ms or candy pearls: The finishing touch that makes each cap feel complete and celebratory.
Tired of Takeout? 🥡
Get 10 meals you can make faster than delivery arrives. Seriously.
One email. No spam. Unsubscribe anytime.
Instructions
- Mix your dry ingredients:
- Whisk together flour, baking powder, and salt in a bowl, making sure the baking powder is evenly distributed so you don't end up with pockets of it in your cookies. This usually takes about a minute of whisking.
- Cream the butter and sugar:
- Beat them together until the mixture is noticeably lighter in color and fluffy, which takes about two to three minutes with an electric mixer. You'll know it's right when it looks almost like frosting.
- Bring the wet ingredients together:
- Add the egg and vanilla to your butter mixture and beat until everything is smooth and combined. Scrape down the bowl with a spatula so nothing gets left behind.
- Combine wet and dry:
- Gradually add your flour mixture to the wet ingredients, mixing on low speed so flour doesn't cloud your entire kitchen. Mix just until a dough forms—overmixing is the enemy of tender cookies.
- Chill your dough:
- Divide the dough in half, shape each into a disk, wrap in plastic, and refrigerate for at least thirty minutes. This prevents the cookies from spreading too much during baking and makes them easier to cut.
- Preheat and prepare:
- Set your oven to 350°F and line your baking sheets with parchment paper. This is the perfect moment to get all your tools ready so you're not scrambling later.
- Roll and cut:
- On a lightly floured surface, roll one disk of dough to about 1/4-inch thickness and cut out graduation cap or square shapes. Transfer cookies to your prepared baking sheets, leaving a little space between each one.
- Bake until golden:
- Bake for eight to ten minutes until the edges are just starting to turn golden but the centers still look slightly underbaked. They'll continue cooking on the hot pan after you remove them from the oven, and this is what keeps them tender.
- Cool completely:
- Let the cookies cool on the baking sheet for a few minutes, then transfer to a wire rack to cool completely before decorating. Decorating warm cookies is a recipe for melted icing and frustration.
 Save
Save My roommate walked into the kitchen at midnight while I was piping tiny yellow tassels onto fifty cookies, and instead of asking why I was awake at that hour, she just handed me a coffee and sat down to help. There's something about repetitive, meditative work like decorating cookies that brings people together without needing to say much. By 2 AM, we were both laughing at how ridiculously fancy these simple cookies had become, and somehow that made them taste even better the next day.
Making Royal Icing Like a Pro
Royal icing looks intimidating, but it's really just egg whites and powdered sugar beaten until they're stiff and glossy. The key is patience—don't rush the beating process, because that's what creates the structure that lets you pipe clean lines. I learned this the hard way after trying to shortcut the process and ending up with icing that was too soft to hold a shape.
The Color and Consistency Balance
Gel food coloring is your friend here because it doesn't thin out your icing like liquid coloring does, which means you can get bold, dark colors without sacrificing that perfect glossy finish. Start with just a tiny dab of color—you can always add more, but you can't take it out. The black needs to be truly opaque and deep for that authentic graduation cap look, so don't skimp on the coloring.
Timing and Decoration Strategy
The magic of these cookies comes down to patience and a very specific order of operations. If you rush the drying time between the base coat and the details, everything will run together and look muddy instead of crisp. I learned to do this in stages—outline and flood all the cookies, let them sit for at least thirty minutes while I watch a show or do something else, then come back fresh for the piping details.
- Use a toothpick to gently guide the icing to the edges and fill in any gaps while the base coat is still wet.
- Set a timer for thirty minutes of drying time, then do a touch test before adding the yellow details—it should feel dry to the touch but not completely hard.
- Store finished cookies in an airtight container so they stay crispy and don't absorb moisture from the air.
 Save
Save These cookies have a way of turning a simple party into something memorable, mostly because people genuinely can't believe you made something that looks this polished. Make them a day ahead if you can, so you're not stressed decorating while guests arrive.
Recipe FAQ
- → What flour is used for these cookies?
All-purpose flour is the base, providing structure and a tender crumb.
- → How is the royal icing prepared?
Beat egg whites or meringue powder with sifted powdered sugar until stiff peaks form, then flavor with vanilla extract.
- → What is the best way to achieve bright icing colors?
Gel food coloring is recommended to maintain opacity and vibrant hues without thinning the icing.
- → How do I prevent cookies from spreading too much during baking?
Chilling the dough before baking helps keep the shapes crisp and prevents spreading.
- → Can I prepare these cookies ahead of time?
Yes, bake the cookies up to two days ahead and decorate them the following day for optimal freshness.