 Save
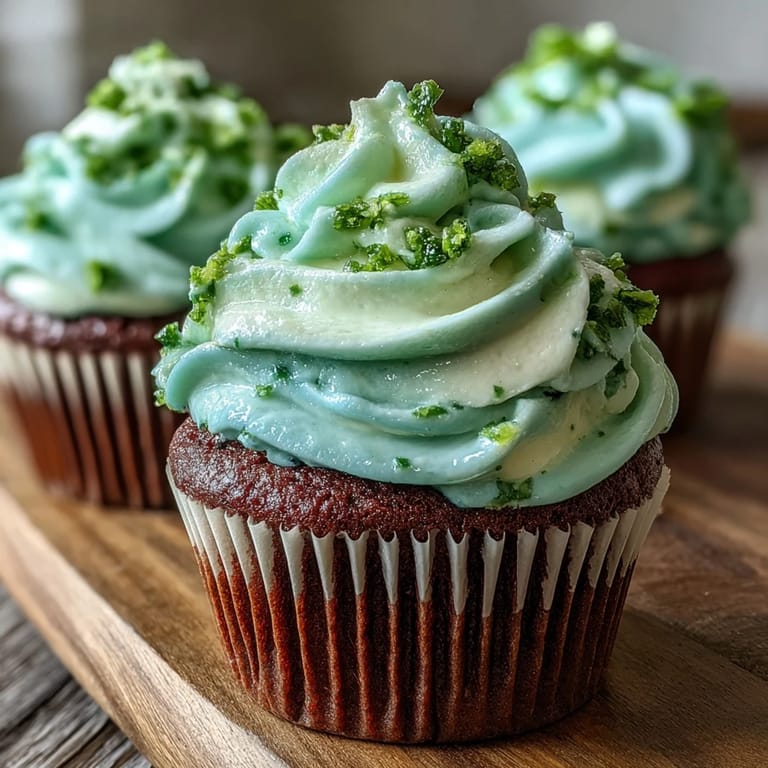
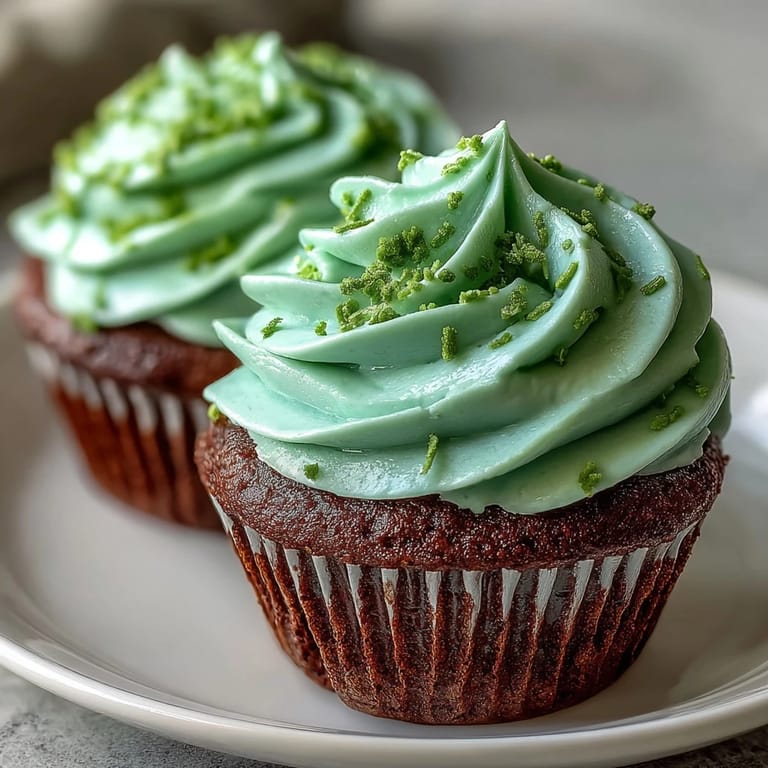
Save My coworker Sarah brought these to the office last March, and I watched grown adults lose their minds over what looked like a chocolate cupcake but tasted like pure emerald magic. She'd made them on a whim the night before, and when she described the reaction—the surprise of that vibrant green interior against the dark cocoa exterior—I knew I had to figure out her method. It turns out the secret isn't complicated, just a little chemistry and the right shade of green that makes people smile before they even bite down.
I made these for a St. Patrick's Day potluck at my neighbor's place, and the way her kids gathered around trying to guess what made them green—before discovering it was food coloring—reminded me why holiday baking matters. It's not just about the sugar rush; it's about that moment when something small and homemade becomes the story people retell.
Ingredients
- All-purpose flour (1 1/4 cups): The foundation that keeps these tender and moist—don't pack it into the measuring cup or you'll end up with dense little hockey pucks.
- Granulated sugar (3/4 cup): Feeds the rise and gives that soft crumb, so measure it out properly because it actually matters here.
- Unsweetened cocoa powder (1/4 cup): This creates the dark exterior that makes the green interior so visually shocking, and adds a subtle depth that keeps them from tasting like pure sugar.
- Baking soda (1/2 teaspoon): Works with the vinegar to react and lift the batter, creating that airy, tender texture.
- Salt (1/4 teaspoon): Amplifies every other flavor and prevents the frosting from tasting one-dimensional.
- Buttermilk (2/3 cup, room temperature): Room temperature is non-negotiable here—cold buttermilk can cause the batter to tighten up and mess with your rise.
- Vegetable oil (1/2 cup): Keeps these impossibly moist for days because oil stays soft in the crumb, unlike butter which can dry them out.
- Large eggs (2, room temperature): Again, temperature matters—cold eggs won't emulsify properly with the oil and will create a separated, weird batter.
- Vanilla extract (1 teaspoon): Rounds out the flavor and makes people wonder what the secret ingredient is.
- Distilled white vinegar (1 teaspoon): This is your rising agent partner to the baking soda, plus it gives you that classic velvet crumb.
- Green gel food coloring (1 tablespoon): Gel is crucial because liquid coloring will thin your batter and ruin the texture—learn this the hard way so you don't have to.
- Cream cheese (8 oz, softened): Must be actually soft or you'll have lumps no amount of beating can fix, and softness matters for that smooth frosting.
- Unsalted butter (1/4 cup, softened): Softened means it should dent easily when you press it with your finger.
- Powdered sugar (2 cups, sifted): Sifting removes the lumps before you mix, so you don't end up with gritty frosting that looks separated.
- Vanilla extract (1 teaspoon): Adds warmth and complexity to the cream cheese without competing with it.
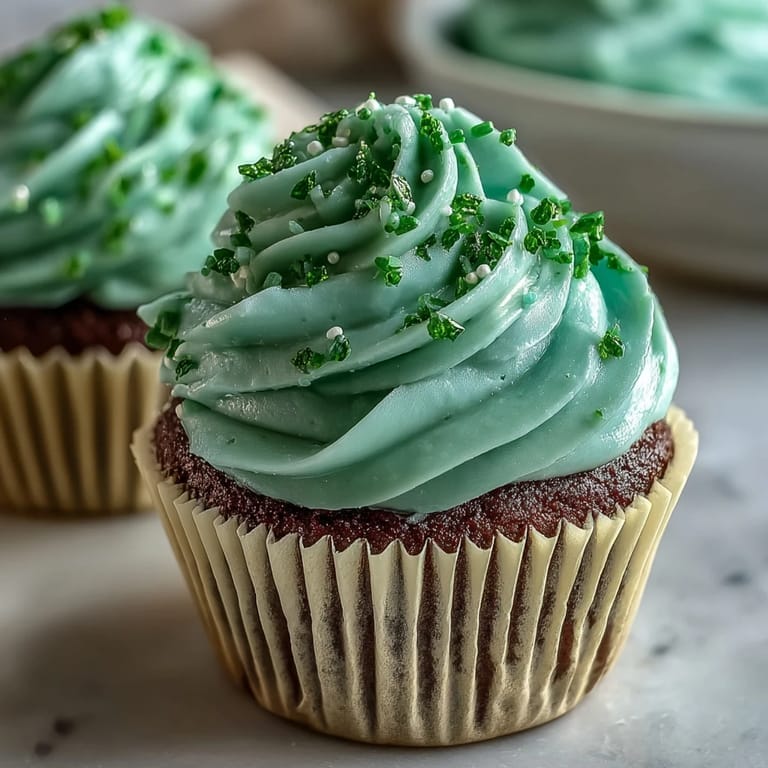
- Green sprinkles or shamrock candies (optional): The final touch that announces these are festive without being obnoxious about it.
Tired of Takeout? 🥡
Get 10 meals you can make faster than delivery arrives. Seriously.
One email. No spam. Unsubscribe anytime.
Instructions
- Prep your stage:
- Preheat your oven to 350°F and line that 12-cup muffin tin with liners—this matters because it prevents the edges from baking too fast and getting crispy instead of tender. Get everything within arm's reach because once you start mixing, you're on the clock.
- Combine your dry teammates:
- In a large bowl, whisk together the flour, sugar, cocoa powder, baking soda, and salt, making sure there are no lumps in the cocoa powder because those pockets will create bitter spots. This step takes maybe a minute but saves you so much heartache later.
- Build the wet side:
- In another bowl, whisk the buttermilk, oil, eggs, vanilla, vinegar, and green food coloring until it's completely smooth and evenly colored—this is where the magic begins to happen, even if it doesn't look magical yet. The mixture should be vibrant and homogeneous, with no streaks of color.
- Marry the two worlds:
- Pour the wet mixture into the dry bowl and fold it together gently with a spatula or wooden spoon, stopping as soon as you don't see flour anymore—overmixing develops gluten and makes these tough instead of tender. You want a batter that looks almost chunky at first, which is exactly right.
- Fill with intention:
- Divide the batter evenly among the liners, aiming for about 2/3 full so they have room to rise without spilling over and baking onto the tin. I use an ice cream scoop for consistency, which prevents some from being massive and some from being tiny.
- Bake with patience:
- Slide them into the oven for 16 to 18 minutes—start checking at 16 because every oven runs differently and you're looking for that point where a toothpick inserted in the center comes out clean with maybe a crumb or two clinging to it. Overbaking makes them dry, so err on the side of slightly underdone.
- Cool strategically:
- Leave them in the tin for exactly 5 minutes so the structure sets, then transfer them to a wire rack to cool completely—this prevents them from continuing to bake from residual heat. Rushing this step and frosting warm cupcakes results in frosting that slides right off.
- Create the frosting cloud:
- Beat the softened cream cheese and butter together until it's fluffy and pale, which takes about 2 minutes with an electric mixer. Add the sifted powdered sugar gradually while mixing, then the vanilla, beating until it reaches frosting consistency—smooth, spreadable, and light.
- Frost with confidence:
- Once the cupcakes are completely cool, frost them generously with a spatula for a rustic look or a piping bag for something fancier. Either way, there's no wrong method as long as you're happy with how they look.
- Dress them up:
- Top with green sprinkles or shamrock candies if the mood strikes you, then admire your work before people descend on them like they're going out of style.
 Save
Save There's something about serving these that brings people together in the silliest way—adults act like they've never seen a green cake before, kids demand to know how you made them turn that color, and suddenly your kitchen becomes the best place anyone's visited. That's when you realize you weren't just making cupcakes; you were creating a moment.
The Science Behind the Velvet
The magic word in red velvet—and green velvet—is the combination of vinegar and baking soda creating a chemical reaction that produces carbon dioxide, which lifts the batter and creates that incredibly tender crumb. The cocoa powder isn't there to make them chocolate-y; it's there to provide just enough flavor and that dark color that contrasts with the green interior, creating the visual surprise everyone loves. The oil instead of butter is what keeps them moist for days because oil coats the starch differently than butter does, preventing them from drying out even if you're not eating them right away.
Why Cream Cheese Frosting Belongs Here
The tanginess of cream cheese cuts through the sweetness of the cocoa and sugar in a way that regular buttercream just doesn't, creating balance on your palate so you can actually taste all the components instead of just tasting sugar. I tried making these with buttercream once and they felt one-dimensional, but the cream cheese brings this sophisticated edge that makes people wonder what you did differently. The butter helps the cream cheese spread smoothly without being too heavy, and together they create a frosting that's actually fun to eat instead of just sweet frosting on top of sweet cake.
Variations and When to Use Them
These cupcakes are honestly a blank canvas for whatever celebration you're throwing, so think about what other colors might work or what flavors you could play with next time.
- For a dairy-free version, swap the buttermilk for oat milk mixed with a tablespoon of lemon juice, use plant-based butter, and grab dairy-free cream cheese for the frosting—I've done this and nobody could tell.
- If you want to make these red velvet instead, just swap out the green gel coloring for red and you've got a Valentine's Day winner.
- Store these in an airtight container at room temperature for up to three days, or refrigerate them for up to a week if the cream cheese frosting needs to stay stable in warm weather.
 Save
Save These cupcakes prove that holiday baking doesn't have to be complicated to be memorable, and that sometimes the best celebrations happen in kitchens where someone cared enough to make something homemade. Make them, share them, watch people's faces light up.
Recipe FAQ
- → What gives the cupcakes their green color?
Green gel food coloring is used to achieve a vibrant green hue without affecting the batter's consistency.
- → Can I make these cupcakes dairy-free?
Yes, substitute plant-based cream cheese, butter, and buttermilk alternatives to make a dairy-free version.
- → How do I know when the cupcakes are baked through?
Insert a toothpick into the center; if it comes out clean, the cupcakes are fully baked.
- → What is the best way to frost the cupcakes?
Once cooled, use a spatula or piping bag to spread or pipe the creamy vanilla frosting evenly on each cupcake.
- → Are there any suggested pairings with these cupcakes?
Pair with Irish coffee or a cold glass of milk for a complementary festive experience.