 Save
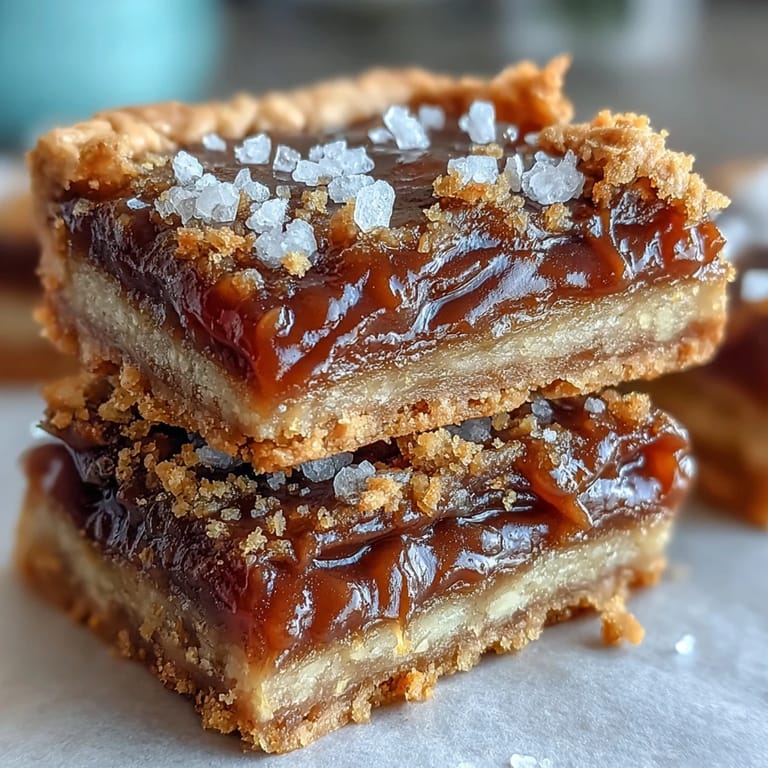
Save There was a morning last October when the scent of apples and maple drifted from my kitchen, making the whole house feel like a cozy sweater. My windows were fogged and the trees outside wore a patchwork of amber and gold, so something autumnal was calling to be baked. Salted Maple Apple Butter Bars appeared on my counter entirely by accident, born from leftover apple butter and a stubborn sweet tooth. I’d never made bars like these before, but they ended up feeling like fall in every bite. The crackle of sea salt on top is still my favorite part.
One time I brought these bars to a potluck at the community garden, still just cooled and sliced. Someone asked what smelled so inviting, and before I could answer the first piece had disappeared into appreciative hands. There was laughter around the picnic table as flecks of maple syrup clung to our fingers, and several people insisted on taking extras home for breakfast the next day.
Ingredients
- All-purpose flour: Essential for structure—sifting it first means the bars stay tender, not dense.
- Powdered sugar: Gives the crust a meltaway, delicate texture and helps it brown evenly.
- Fine sea salt: Balances the sweetness and deepens flavor; sprinkling some on top at the end makes each bite sing.
- Unsalted butter (cold and cubed): The colder, the flakier—cut it quickly into the dry mix for a shortbread-like base.
- Apple butter: Choose a good, thick apple butter (homemade or store-bought)—it makes the whole bar beautifully moist and spiced.
- Large eggs: These set the filling so it slices cleanly but stays custardy.
- Pure maple syrup: Adds complex sweetness; using the real deal rather than pancake syrup makes a big difference.
- Unsalted butter (melted): Just enough to enrich the filling, making it smooth and glossy.
- Ground cinnamon: A pinch gives background warmth—too much will overpower the apple butter, so keep it light.
- Flaky sea salt (for topping): Don't skip this—those few crystals on top turn an ordinary bar into something memorable.
Tired of Takeout? 🥡
Get 10 meals you can make faster than delivery arrives. Seriously.
One email. No spam. Unsubscribe anytime.
Instructions
- Prep Your Pan:
- Line an 8×8-inch pan with parchment so the bars lift out in one piece and don't stick to the corners.
- Mix the Crust:
- Whisk together flour, powdered sugar, and fine sea salt, then use your fingertips or a pastry cutter to work in cold butter until it looks sandy and you can pinch it into clumps.
- Press and Bake:
- Pat the crust firmly into the pan and bake for 15 to 18 minutes, just until the edges start to color and the top looks set.
- Whip Up the Filling:
- While the crust is hot, whisk apple butter, eggs, maple syrup, melted butter, flour, cinnamon, and a touch of salt until velvety and silk-smooth.
- Pour & Smooth:
- Tip the filling over the warm crust, gently smoothing all the way to the corners for evenness.
- Bake Again:
- Bake for another 22 to 25 minutes, until it barely jiggles in the middle but doesn't wobble—like a gentle set custard.
- Cool and Finish:
- Let it cool in the pan for the neatest slices, then shower the top with flaky sea salt just before cutting.
- Share or Store:
- Slice into bars and serve, or refrigerate them for up to 4 days (if they last that long).
 Save
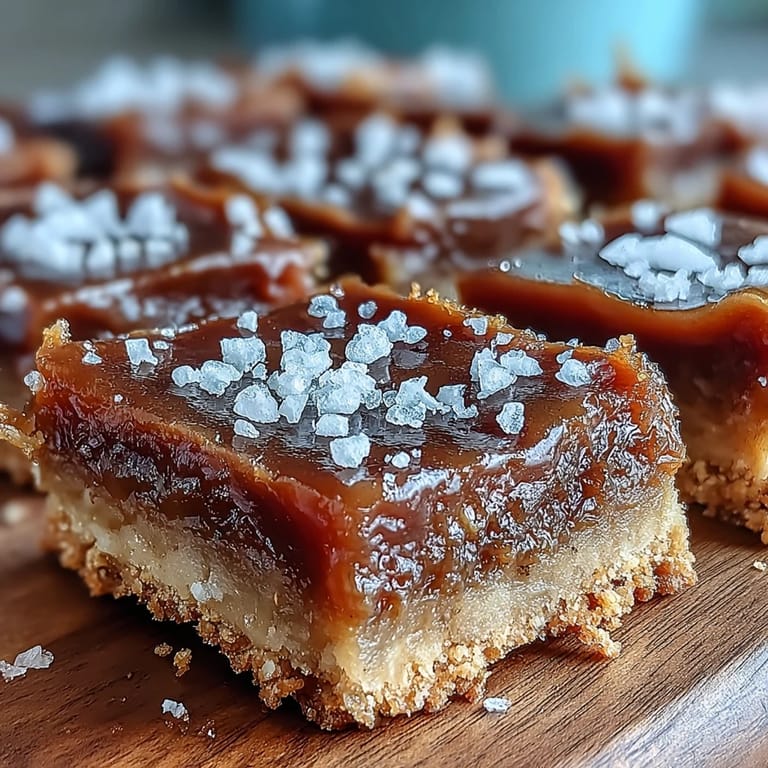
Save There was one crisp evening when my sister dropped by unexpectedly, and we found ourselves eating these bars at the kitchen counter, sharing stories with our mouths full. That night, I realized desserts can turn a regular night into something that feels like a celebration.
How to Switch Things Up
Once, I swapped half the flour in the crust for whole-wheat flour and tossed a handful of toasted walnuts into the filling. The bars came out heartier and had a rustic edge that was perfect with hot cider. Sometimes a small change gives you a brand-new favorite version.
Storing and Serving Suggestions
Leftovers keep brilliantly in the fridge (if any survive the first day), and a quick zap in the microwave brings back all the cozy, just-baked flavors. Topped with whipped cream or enjoyed cold straight from the pan, they’re never a disappointment. A scoop of ice cream turns them into a full-on dessert plate.
Troubleshooting and Last-Minute Tips
Don’t stress if the crust looks a bit crumbly before baking—it comes together as it cooks. If your apple butter is especially sweet, you can ease back on the maple for balance. Glancing into the oven and seeing the middle just barely jiggle is your best doneness cue.
- Wait until bars are truly cool before slicing for sharp, clean edges.
- If you want extra crunch, sprinkle toasted nuts on top before baking the filling.
- Use good quality maple syrup—the flavor is worth it.
 Save
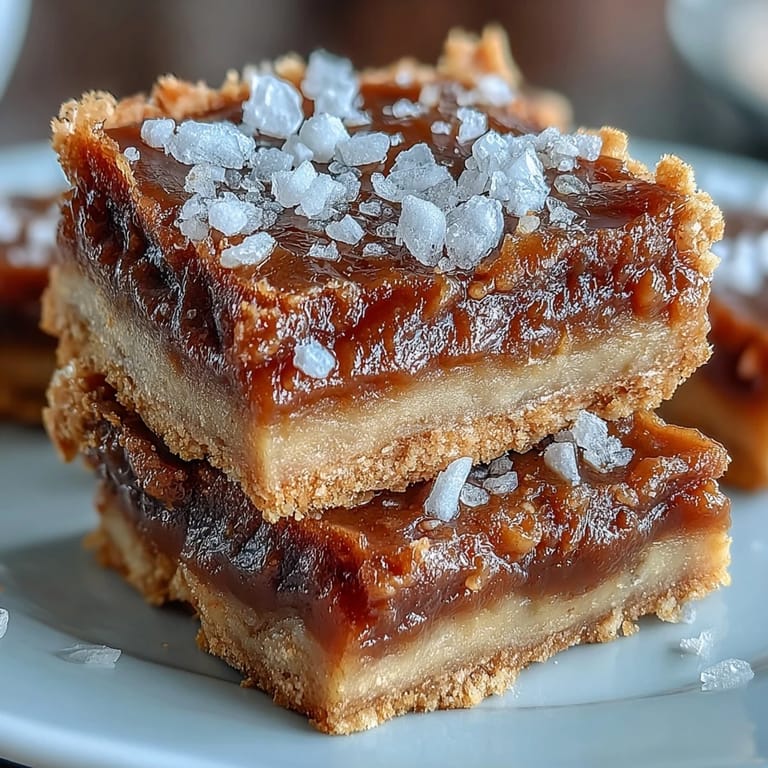
Save No matter the season, these bars always coax a smile. I hope your kitchen smells as lovely as mine did the next time you bake them.
Recipe FAQ
- → What type of flour works best for the crust?
All-purpose flour creates a tender base, while whole-wheat flour offers a nuttier texture if preferred.
- → Can I add nuts to the filling?
Yes, chopped toasted walnuts or pecans can be folded into the filling to add a pleasant crunch.
- → How can I know when the bars are done baking?
The filling should be set but slightly jiggle in the center when gently shaken, and the crust edges lightly golden.
- → Is it necessary to refrigerate the bars?
Storing bars in the refrigerator helps maintain freshness, and they keep well for up to 4 days.
- → What toppings enhance these bars?
Flaky sea salt sprinkled on top adds a perfect balance, and serving with vanilla ice cream or whipped cream is delightful.