 Save
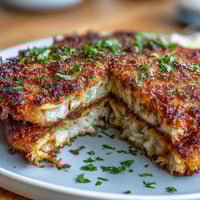
Save This hearty pasta nest bowls recipe transforms ordinary spaghetti into impressive edible vessels that delight both eyes and taste buds. The crispy pasta exterior creates a perfect container for the rich tomato and cheese filling, making dinner an interactive experience that's sure to become a family favorite.
I first created these pasta nests when hosting a dinner party where I wanted something visually stunning but actually simple to prepare. My guests were so impressed they thought I'd spent hours in the kitchen, when really the pasta does all the work for you.
Ingredients
- For the Pasta Bowls
- Spaghetti or angel hair pasta: the thinner varieties work best for creating the delicate nest shape
- Large eggs: act as the crucial binding agent that helps the pasta keep its shape
- Grated Parmesan cheese: adds flavor and helps create the crispy exterior
- Olive oil: prevents sticking and adds richness to the pasta bowls
- Salt and black pepper: essential for flavoring the pasta itself
- For the Filling
- Olive oil: use a good quality one for sautéing as it forms the flavor base
- Onion and garlic: the aromatic foundation that gives depth to the sauce
- Red bell pepper: adds sweetness and a pop of color to the filling
- Canned chopped tomatoes: choose San Marzano variety if possible for best flavor
- Dried herbs: oregano and basil infuse Italian character into the sauce
- Mozzarella cheese: select a good melting variety that will create those perfect cheese pulls
- Fresh basil leaves: brightens the dish with color and fresh flavor
Tired of Takeout? 🥡
Get 10 meals you can make faster than delivery arrives. Seriously.
One email. No spam. Unsubscribe anytime.
Instructions
- Prepare the Oven:
- Preheat your oven to a moderate 190°C or 375°F. This temperature is perfect for creating crisp pasta exteriors without burning. While waiting for the oven to heat, thoroughly grease your muffin tin or oven safe bowls with olive oil or cooking spray, making sure to coat all surfaces to prevent sticking.
- Cook the Pasta:
- Bring a large pot of water to a rolling boil and add a generous tablespoon of salt. Add the pasta and cook until just al dente, typically 1 to 2 minutes less than package directions. The pasta will continue cooking in the oven, so slightly undercooking it now prevents mushy nests later. Drain thoroughly and allow to cool for exactly 5 minutes. This cooling period is crucial as it allows the pasta to become pliable without being too hot to handle.
- Create the Pasta Mixture:
- In a spacious mixing bowl, combine your slightly cooled pasta with eggs, Parmesan cheese, olive oil, salt, and pepper. Use tongs or two forks to toss everything together, ensuring every strand of pasta gets evenly coated with the egg mixture. This coating creates the structure that will allow your nests to hold their shape during baking.
- Form the Nests:
- Take portions of the coated pasta and place them into your prepared muffin cups. Using a fork or your fingers, twirl the pasta to create nest shapes with hollow centers. Press gently against the sides and bottom of each cup, creating a bowl shape with walls approximately half an inch thick. Make sure there are no holes in the sides where filling might leak through later.
- Bake the Pasta Bowls:
- Place the muffin tin in the preheated oven and bake for 18 to 20 minutes. Look for the edges to turn golden brown and crispy while the pasta sets into a solid structure. Once baked, allow the nests to cool in the pan for 5 minutes before attempting to remove them. This resting period helps them firm up and release more easily from the pan.
- Prepare the Filling:
- While your pasta nests are baking, heat olive oil in a large skillet over medium heat. Add the diced onion and minced garlic, sautéing for 2 to 3 minutes until they become translucent and fragrant but not browned. Add the diced bell pepper and continue cooking for another 3 minutes until the pepper begins to soften slightly.
- Create the Sauce:
- Pour in the canned tomatoes along with the dried oregano, basil, salt, and pepper. Stir everything together and bring to a gentle simmer. Allow the sauce to cook for 8 to 10 minutes, stirring occasionally, until it thickens slightly. The sauce should coat the back of a spoon but still be loose enough to spoon into the pasta nests.
- Assemble the Nests:
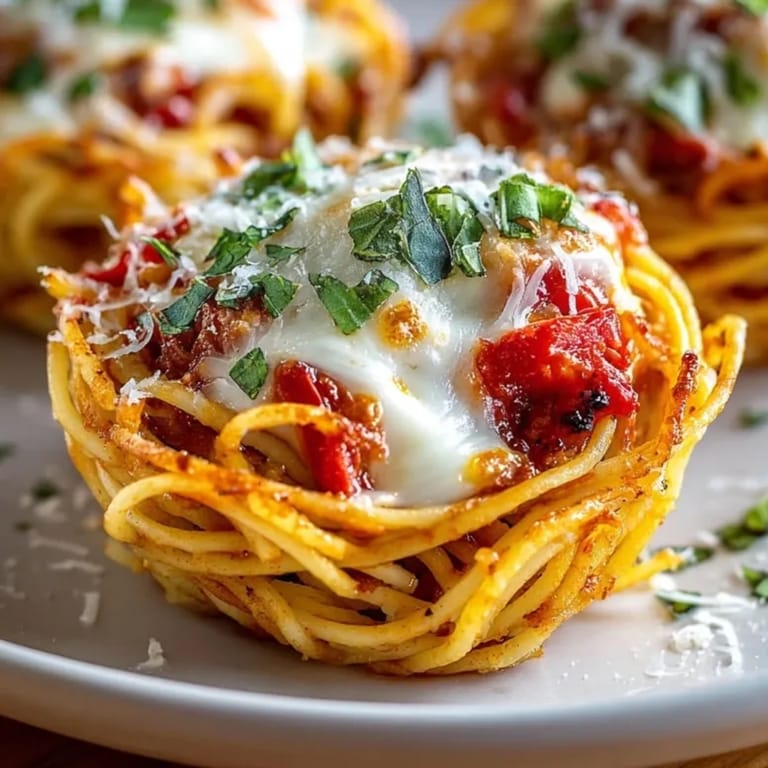
- Carefully spoon the tomato mixture into each pasta nest, filling them about three quarters full. Top each nest generously with shredded mozzarella cheese, creating a small mound that will melt beautifully over the filling. The cheese acts as a binding agent for the filling while also providing that irresistible stretchy texture.
- Final Baking:
- Return the filled nests to the oven for 8 to 10 minutes. Watch for the cheese to melt completely and begin bubbling around the edges with light golden spots forming on top. This second baking melds all the flavors together while keeping the pasta nests crisp.
- Garnish and Serve:
- Remove from the oven and immediately sprinkle with freshly chopped basil leaves. The heat will release the aromatic oils in the basil. Allow the pasta nests to rest for 2 to 3 minutes before serving to let the filling set slightly. This prevents the filling from spilling out when you take the first bite.
 Save
Save These pasta nests have become my signature dish for special occasions. I particularly love how the edges of the pasta get wonderfully crisp while maintaining a perfect al dente texture where the strands overlap. My daughter always asks to help twirl the pasta into the muffin cups, making it a fun cooking activity we share together.
Storage and Reheating
The unfilled pasta nests can be stored in an airtight container in the refrigerator for up to 3 days. For best results, reheat them in a 350°F oven for about 5 minutes to restore crispness before filling. Fully assembled pasta nests can be refrigerated for up to 2 days, though the texture will soften somewhat. Reheat covered with foil for 15 minutes, then uncover for 5 minutes to crisp up the edges.
Creative Variations
Transform this dish by experimenting with different fillings. Try a creamy spinach and ricotta mixture for a vegetarian option reminiscent of stuffed shells. For meat lovers, a bolognese sauce with ground beef or Italian sausage works beautifully. You can even go in a completely different direction with a carbonara inspired filling using pancetta, eggs, and pecorino cheese. The pasta nest serves as a versatile canvas for your culinary creativity.
Make Ahead Tips
For stress free entertaining, prepare components in advance. The pasta nests can be baked up to a day ahead and stored in an airtight container at room temperature. The tomato filling can be made up to three days ahead and refrigerated. When ready to serve, simply reheat the sauce, fill the nests, top with cheese, and complete the final baking step. This approach makes these impressive pasta bowls practical even for busy weeknights.
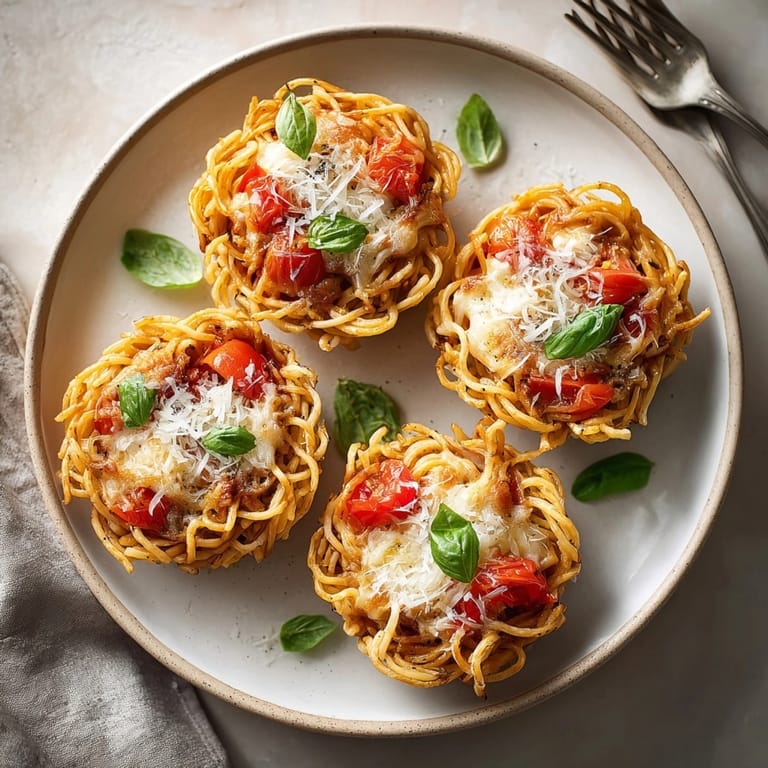
Serving Suggestions
Present these pasta nests on a bed of lightly dressed arugula for a restaurant quality presentation. The peppery greens provide a nice counterpoint to the rich pasta and cheese. For a complete meal, serve alongside garlic bread and a simple Caprese salad. If serving as an appetizer, one nest per person is perfect, while two to three makes a satisfying main course depending on appetite.
 Save
Save These pasta nests are best served immediately after the final baking to ensure the cheese is perfectly melted and the pasta is still crisp. Enjoy this delightful and creative way to serve pasta!
Recipe FAQ
- → What pasta works best for the nests?
Thin varieties like spaghetti or angel hair create sturdy, crisp nests that hold their shape and bake evenly.
- → Can I prepare the nests ahead of time?
Yes, bake the nests and tomato filling in advance. Reheat and assemble just before serving for best texture.
- → How do I prevent nests from sticking?
Grease the muffin tin or baking bowls well with olive oil to ensure the nests release easily after baking.
- → Is it possible to make this gluten-free?
Yes, substitute with your favorite gluten-free pasta, monitoring for al dente texture before shaping nests.
- → What variations can I try?
Add cooked meat or sautéed mushrooms to the filling, or sprinkle chili flakes into the sauce for extra heat.