 Save
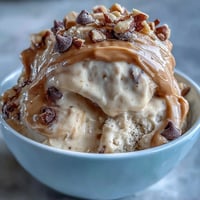
Save I discovered these protein cheesecake cups on a lazy Sunday afternoon when I was desperately searching for something that tasted indulgent but wouldn't derail my fitness goals. My friend swore by no-bake desserts, and after one bite of her version, I understood the appeal completely. There's something magical about biting into that creamy filling over a buttery, crunchy base without ever turning on the oven. Now they're my go-to when I want dessert that feels like a treat but actually fuels my body.
I made these for my sister the morning after her first 5K run, and watching her face light up when she realized dessert could actually support her training was priceless. She'd been convinced that fitness meant saying goodbye to cheesecake, and I loved proving her wrong. Now we make them together every other week, and it's become our ritual—our time to catch up while we layer crust and filling into little cups.
Ingredients
- Oat flour: The foundation that gives you a tender, wholesome base without the guilt of traditional graham crackers—I learned to mix it with the butter thoroughly so it binds perfectly.
- Almond or peanut butter: This is your glue and flavor anchor; natural versions work beautifully if you stir the oil in first.
- Honey or maple syrup: Just enough sweetness to make the base taste indulgent without overpowering the filling.
- Cream cheese: Softening it for 20 minutes at room temperature is non-negotiable or you'll end up with lumps.
- Greek yogurt: The secret to keeping this creamy while bumping up the protein; it adds tang that brightens everything.
- Vanilla whey protein powder: Choose one you actually like to drink, because that flavor matters here more than in smoothies.
- Lemon zest: Optional but transforms this from nice to memorable—the brightness cuts through the richness beautifully.
Tired of Takeout? 🥡
Get 10 meals you can make faster than delivery arrives. Seriously.
One email. No spam. Unsubscribe anytime.
Instructions
- Build your base:
- Combine oat flour, nut butter, honey, and salt in a bowl, stirring until everything comes together into a crumbly texture. It should feel slightly damp but hold together when you squeeze it, like moist sand at the beach.
- Press firmly:
- Divide the mixture evenly among your muffin liners and press down hard with the back of a spoon—don't be shy here or your base will crumble when you remove the liner. I learned this the hard way with my first batch.
- Whip the filling:
- Beat the softened cream cheese until completely smooth, then fold in the Greek yogurt, protein powder, honey, vanilla, and lemon zest. Mix until you have a cloud-like texture with no lumps.
- Layer and chill:
- Spoon the filling generously over each base and smooth the tops with a small spatula. If you're adding toppings, press them in gently so they stay put, then refrigerate for at least 2 hours until completely set.
- Release and serve:
- Run a thin knife around the edges of the liner and pop each cup out gently onto a plate. They peel away cleanly if you've chilled them long enough.
 Save
Save The moment that sealed this recipe into my regular rotation was when my partner took a bite and asked if I'd bought them from a bakery. I hadn't felt that kind of kitchen pride in ages. These little cups somehow convinced someone who normally skips dessert that protein-packed food can be genuinely delicious, not just convenient.
Customizing Your Cups
The beauty of this recipe is how forgiving it is to your preferences and dietary needs. I've made these with almond flour for a denser base, crushed gluten-free cookies for extra flavor, and even swapped the vanilla protein for chocolate on days when I wanted something richer. The filling takes well to different extracts too—almond extract and a hint of cinnamon creates something almost floral, while espresso powder adds depth if you're coffee-obsessed like I am. You can make them entirely vegan by swapping dairy cream cheese for a cashew-based version and using plant-based protein powder, and they come out nearly identical.
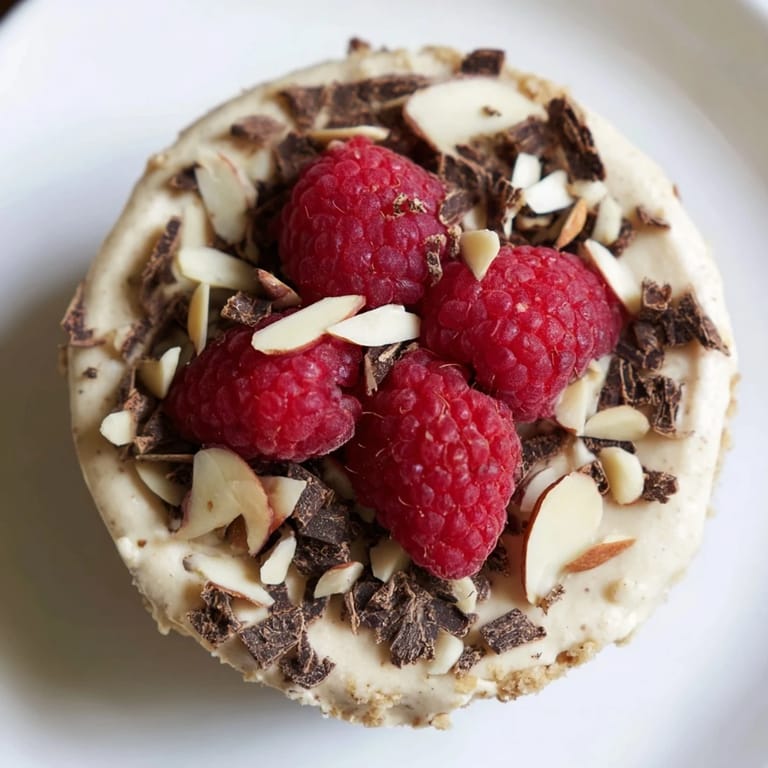
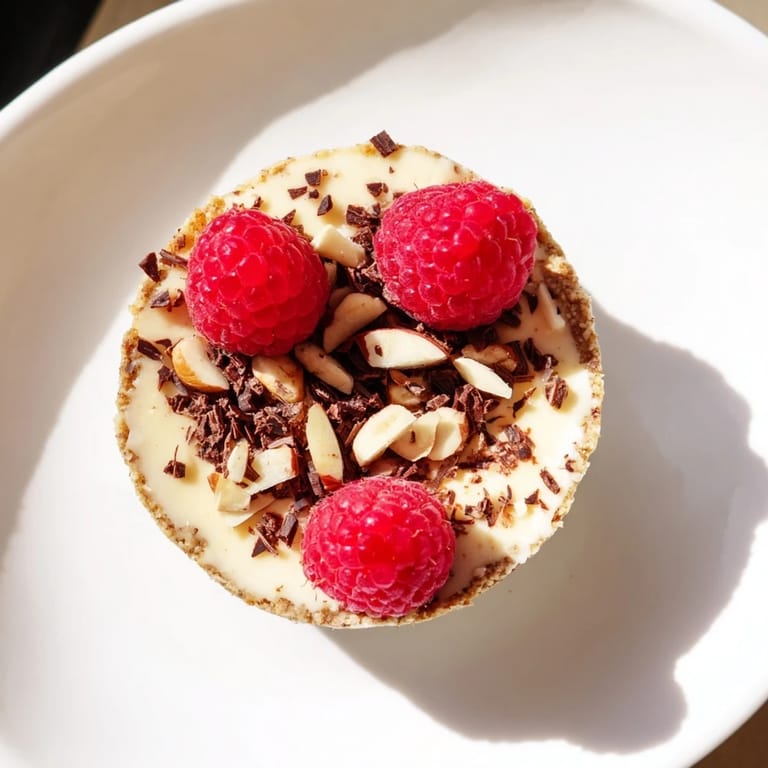
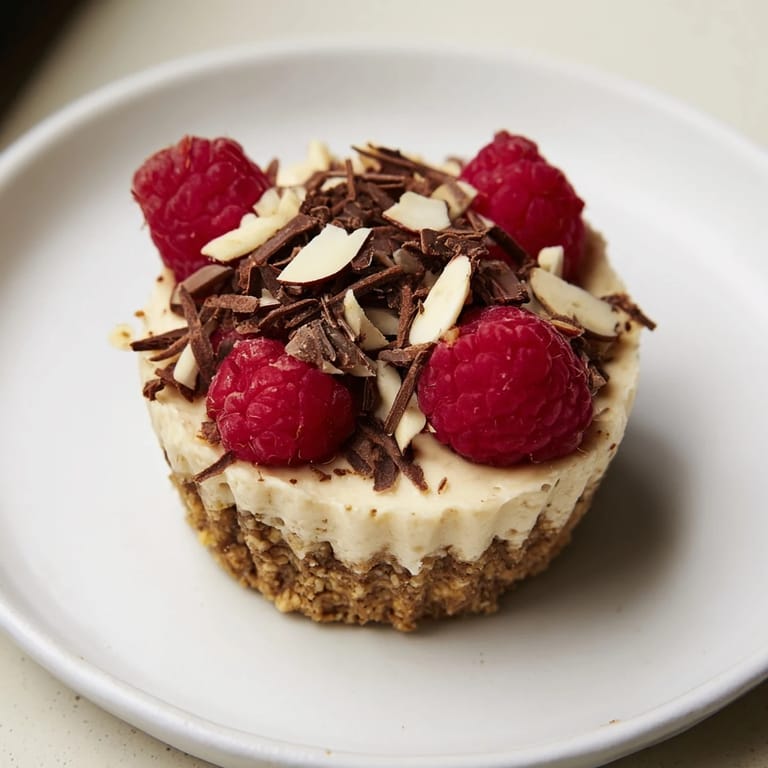
Topping Ideas That Actually Matter
Fresh berries are the obvious choice, and they're perfect, but I've discovered that toppings can completely change the vibe of these cups. Crushed pistachios and a tiny sprinkle of sea salt elevate them into something elegant enough for a dinner party, while dark chocolate shavings and a drizzle of almond butter make them feel more indulgent. A spoonful of berry compote on top adds brightness and moisture, and roasted coconut flakes bring a tropical note that makes you feel like you're somewhere warm. The topping sits on the surface, so choose something you actually want to taste in every bite rather than treating it as mere decoration.
Storage and Make-Ahead Magic
These cups live happily in the refrigerator for up to 5 days, making them perfect for meal prep or having something ready when cravings strike. I like to store them in an airtight container with parchment between each one so they don't stick together. You can even freeze them for up to 2 weeks, though they'll take about 15 minutes to thaw before eating. The texture stays creamy whether chilled or frozen, which is something I was skeptical about until I tried it. Honestly, having three of these waiting in the fridge means I reach for them instead of the less nutritious options when I'm tired and hungry.
- Make a double batch on Sunday and you'll have grab-and-go protein for most of your week.
- Thaw them in the refrigerator rather than at room temperature to keep the texture perfect.
- They're portable enough to take to work or pack for road trips as long as you keep them cool.
 Save
Save These cups became my answer to the question of how to fuel yourself well without feeling deprived, and that's a feeling I want to share. Make them for yourself, make them for someone you care about, and watch how something this simple becomes something memorable.
Recipe FAQ
- → Can I make these cups gluten-free?
Yes, using almond flour or certified gluten-free oat flour for the base ensures the cups remain gluten-free.
- → What can I use instead of cream cheese in the filling?
Dairy-free cream cheese alternatives work well for a vegan or dairy-free version without sacrificing creaminess.
- → How long should the cups chill before serving?
Allow at least 2 hours in the refrigerator to set firmly and develop the best texture.
- → Are there any suggested toppings for added flavor?
Fresh berries, chopped nuts, or dark chocolate shavings enhance texture and natural sweetness.
- → Can I replace honey with another sweetener?
Maple syrup is a great alternative for a different natural sweetness level in both base and filling.