 Save
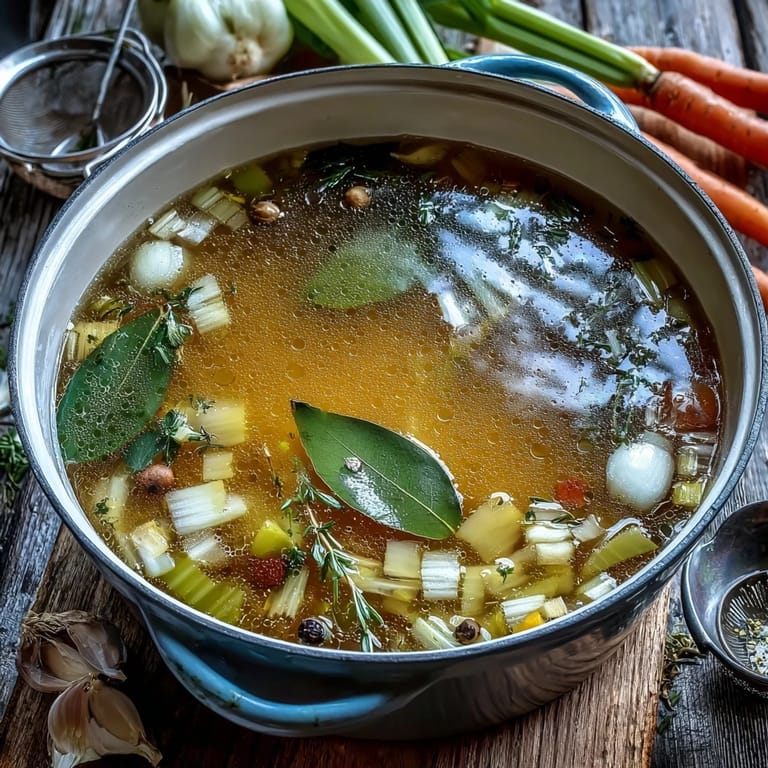
Save There's something quietly satisfying about turning kitchen waste into liquid gold. I started making vegetable broth from scraps almost by accident—my grandmother used to save every carrot peel and onion skin in a paper bag, and one rainy afternoon I finally asked her why. She pulled out that crumpled bag, dumped it into a pot with some water and herbs, and within an hour the whole kitchen smelled like home. Now I can't imagine throwing away vegetable trimmings.
I remember the first time I served a soup made entirely from this broth to my roommate—she asked where I'd bought it from such a fancy shop. When I told her it was made from vegetable scraps I'd been saving in a container, she looked genuinely skeptical until she tasted it. That moment taught me that the most humble ingredients often make the most memorable meals.
Ingredients
- Vegetable Scraps (4 cups): Carrot peels, onion skins, celery ends, leek tops, mushroom stems, and parsley stems are your best friends here—they're flavorful without being aggressive, though I've learned the hard way to avoid potato peels and brassicas, which can turn the broth cloudy or bitter.
- Bay Leaf (1): This single leaf does more work than you'd expect, adding subtle depth without overpowering the delicate vegetable flavors.
- Black Peppercorns (5–7): I prefer whole peppercorns because they release their spice gradually and can be easily strained out, giving you control over the final heat level.
- Garlic (2 cloves, crushed, optional): Crushed garlic opens up faster, though I sometimes skip it if my scraps already include plenty of garlic skins.
- Salt (1 teaspoon, optional): Start low and taste as you go—I learned this after oversalting a batch meant for a risotto.
- Fresh Thyme or Dried Thyme (1 sprig or 1/2 teaspoon, optional): This herb adds an earthy whisper that ties everything together beautifully.
- Cold Water (8 cups or 2 liters): Cold water helps extract flavors gently and keeps the broth clear rather than murky.
Tired of Takeout? 🥡
Get 10 meals you can make faster than delivery arrives. Seriously.
One email. No spam. Unsubscribe anytime.
Instructions
- Gather and prep your scraps:
- Collect clean vegetable trimmings in a bowl as you cook throughout the week—I keep a small container in my fridge specifically for this. Wash them gently and make sure nothing has gone soft or discolored.
- Build your base:
- Put the scraps, bay leaf, peppercorns, garlic, salt, and thyme into a large stockpot. Arrange them loosely so the water can flow around everything.
- Add the water:
- Pour in the cold water until all the scraps are submerged—this ensures even extraction and prevents any pieces from drying out during cooking. You'll notice the pot looks quite full, but that's exactly right.
- Bring to a gentle simmer:
- Turn the heat to medium-high and let it come to a boil, then immediately lower it to a gentle simmer where you see just a few lazy bubbles breaking the surface. This slow approach keeps the broth clear and clean-tasting.
- Simmer and skim:
- Let it bubble softly for 45 to 60 minutes, occasionally skimming off any foam that rises to the top with a ladle or spoon—this takes just a minute and makes a noticeable difference in clarity. The smell will gradually shift from raw vegetables to something rich and welcoming.
- Taste and adjust:
- After about 45 minutes, take a careful spoonful and taste it—if it tastes a bit thin, let it go another 10 minutes. This is your moment to add more salt if needed, remembering that the broth will concentrate slightly as it cools.
- Strain with care:
- Pour the broth through a fine-mesh sieve or cheesecloth into a clean container, letting gravity do the work without pressing down on the solids. This gentle approach keeps the liquid crystal clear.
- Cool and store:
- Let the broth cool to room temperature, then transfer it to airtight containers and refrigerate for up to 5 days or freeze for up to 3 months. I use ice cube trays for freezing small portions that thaw quickly.
 Save
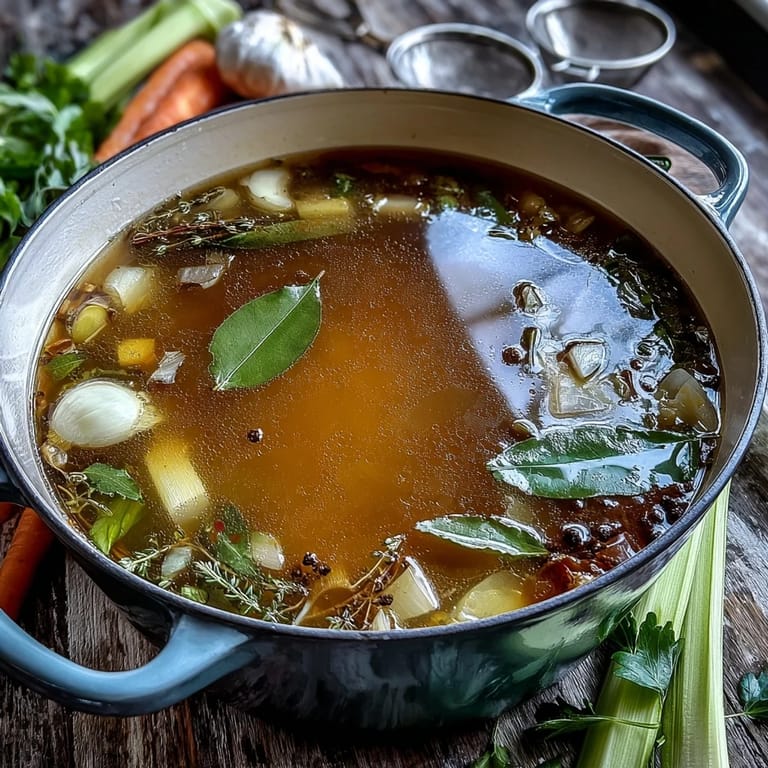
Save My favorite use for this broth happened on a cold Sunday when I made a simple risotto and my partner kept asking what restaurant I'd ordered it from. I'd made the rice with nothing but this homemade broth, butter, and parmesan, yet somehow it tasted like I'd spent all day cooking. That's when I realized this recipe isn't just practical—it's quietly transformative.
Roasting for Deeper Flavor
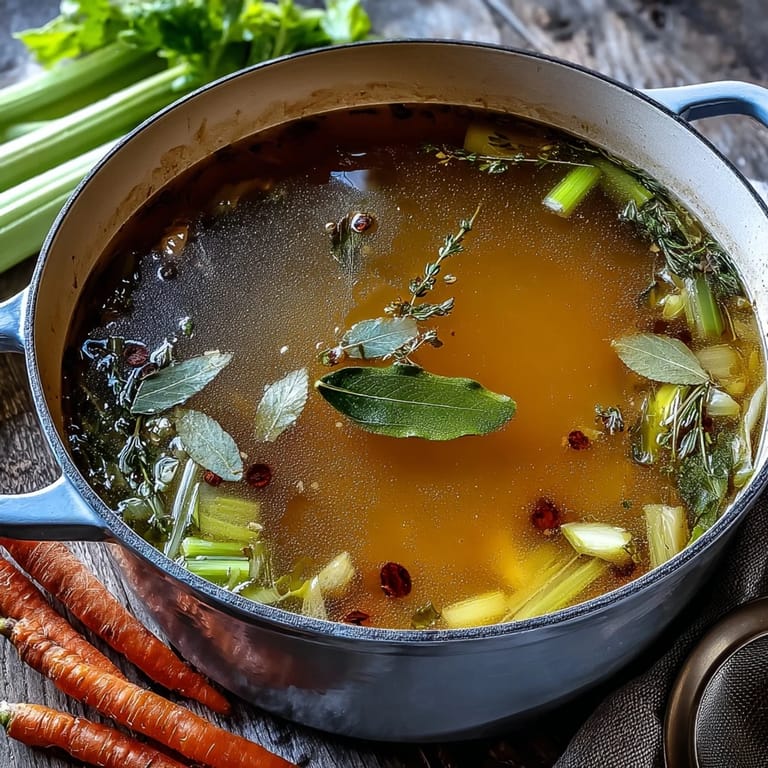
If you want your broth to taste richer and more complex, try roasting the vegetable scraps first. Spread them on a baking sheet, drizzle lightly with a bit of oil if you have it, and roast at 200°C (400°F) for about 20 minutes until they're lightly caramelized—the kitchen will smell incredible. Then follow the recipe as normal; you'll notice the broth has a deeper, almost golden quality that's wonderful in hearty soups or for sipping on its own.
Umami Boosters and Variations
Once you've mastered the basic recipe, you can start playing with additions that add savory depth. A small piece of kombu (dried seaweed) or a handful of dried mushrooms added during simmering will give your broth an umami punch that makes people wonder what your secret is. I've also added a piece of dried ginger, a star anise, or even a few dried shiitake mushrooms—each one changes the character slightly, so experiment until you find your favorite combination.
Storage and Smart Seasoning Choices
I've learned that keeping your broth lightly salted (or even unsalted) gives you maximum flexibility when using it in other recipes. Store it in the coldest part of your fridge if you're using it within a few days, or freeze it in ice cube trays for easy portioning—this way you're never throwing out half a container because it expired. When you do use it, taste first and add salt only to the final dish, since broths can concentrate flavors as they sit.
- Freeze broth in ice cube trays, then pop the cubes into freezer bags for storage that lasts months.
- Label your containers with the date so you remember when you made them—I've found that well-frozen broth stays good for up to three months.
- Use this broth as the foundation for any soup, grain, or braised dish where you want clean, pure vegetable flavor without extra sodium.
 Save
Save Making broth from scraps is one of those small kitchen practices that shifts how you think about cooking—nothing goes to waste, and every pot of soup or grain becomes a little more intentional. Once you start, you'll find yourself looking forward to saving those trimmings.
Recipe FAQ
- → What vegetables work best for homemade broth?
Onion skins, carrot peels, celery ends, leek tops, mushroom stems, parsley stems, and garlic cloves create a balanced, aromatic base. Avoid potato peels, brassicas (broccoli, cauliflower, cabbage), and overly starchy or sweet vegetables, which can add bitterness or cloudiness to your finished broth.
- → How should I store vegetable scraps until ready to make broth?
Keep a designated container or resealable bag in your freezer and add clean vegetable trimmings as you cook. Once you've accumulated about 4 cups, you're ready to simmer a batch. Freezing also helps break down cell walls, potentially extracting more flavor during cooking.
- → Can I customize the flavor profile of my broth?
Absolutely. Add fresh herbs like thyme, rosemary, or bay leaf for aromatic depth. Include ginger slices for warmth, or add dried mushrooms and kombu for extra umami. Roasting the scraps at 200°C (400°F) for 20 minutes before simmering creates a deeper, caramelized flavor.
- → How long does homemade vegetable broth last?
Properly cooled and stored in airtight containers, your broth will keep in the refrigerator for up to 5 days. For longer storage, freeze in portion-sized containers or ice cube trays for up to 3 months. Leave space at the top of containers as liquids expand when frozen.
- → Should I salt my homemade vegetable broth?
It's best to add minimal or no salt during the cooking process, especially if you plan to use the broth as a base for other dishes. This allows you to control the seasoning in your final preparation. If sipping the broth on its own, season to taste just before serving.
- → What's the difference between stock and broth?
Traditionally, stock is made from bones and has a richer body, while broth is made from vegetables and meat. This vegetable-based version technically falls under broth, but the terms are often used interchangeably in home cooking. What matters most is that you have a flavorful, versatile liquid for your culinary needs.